
01
Front and rear seat upholstery
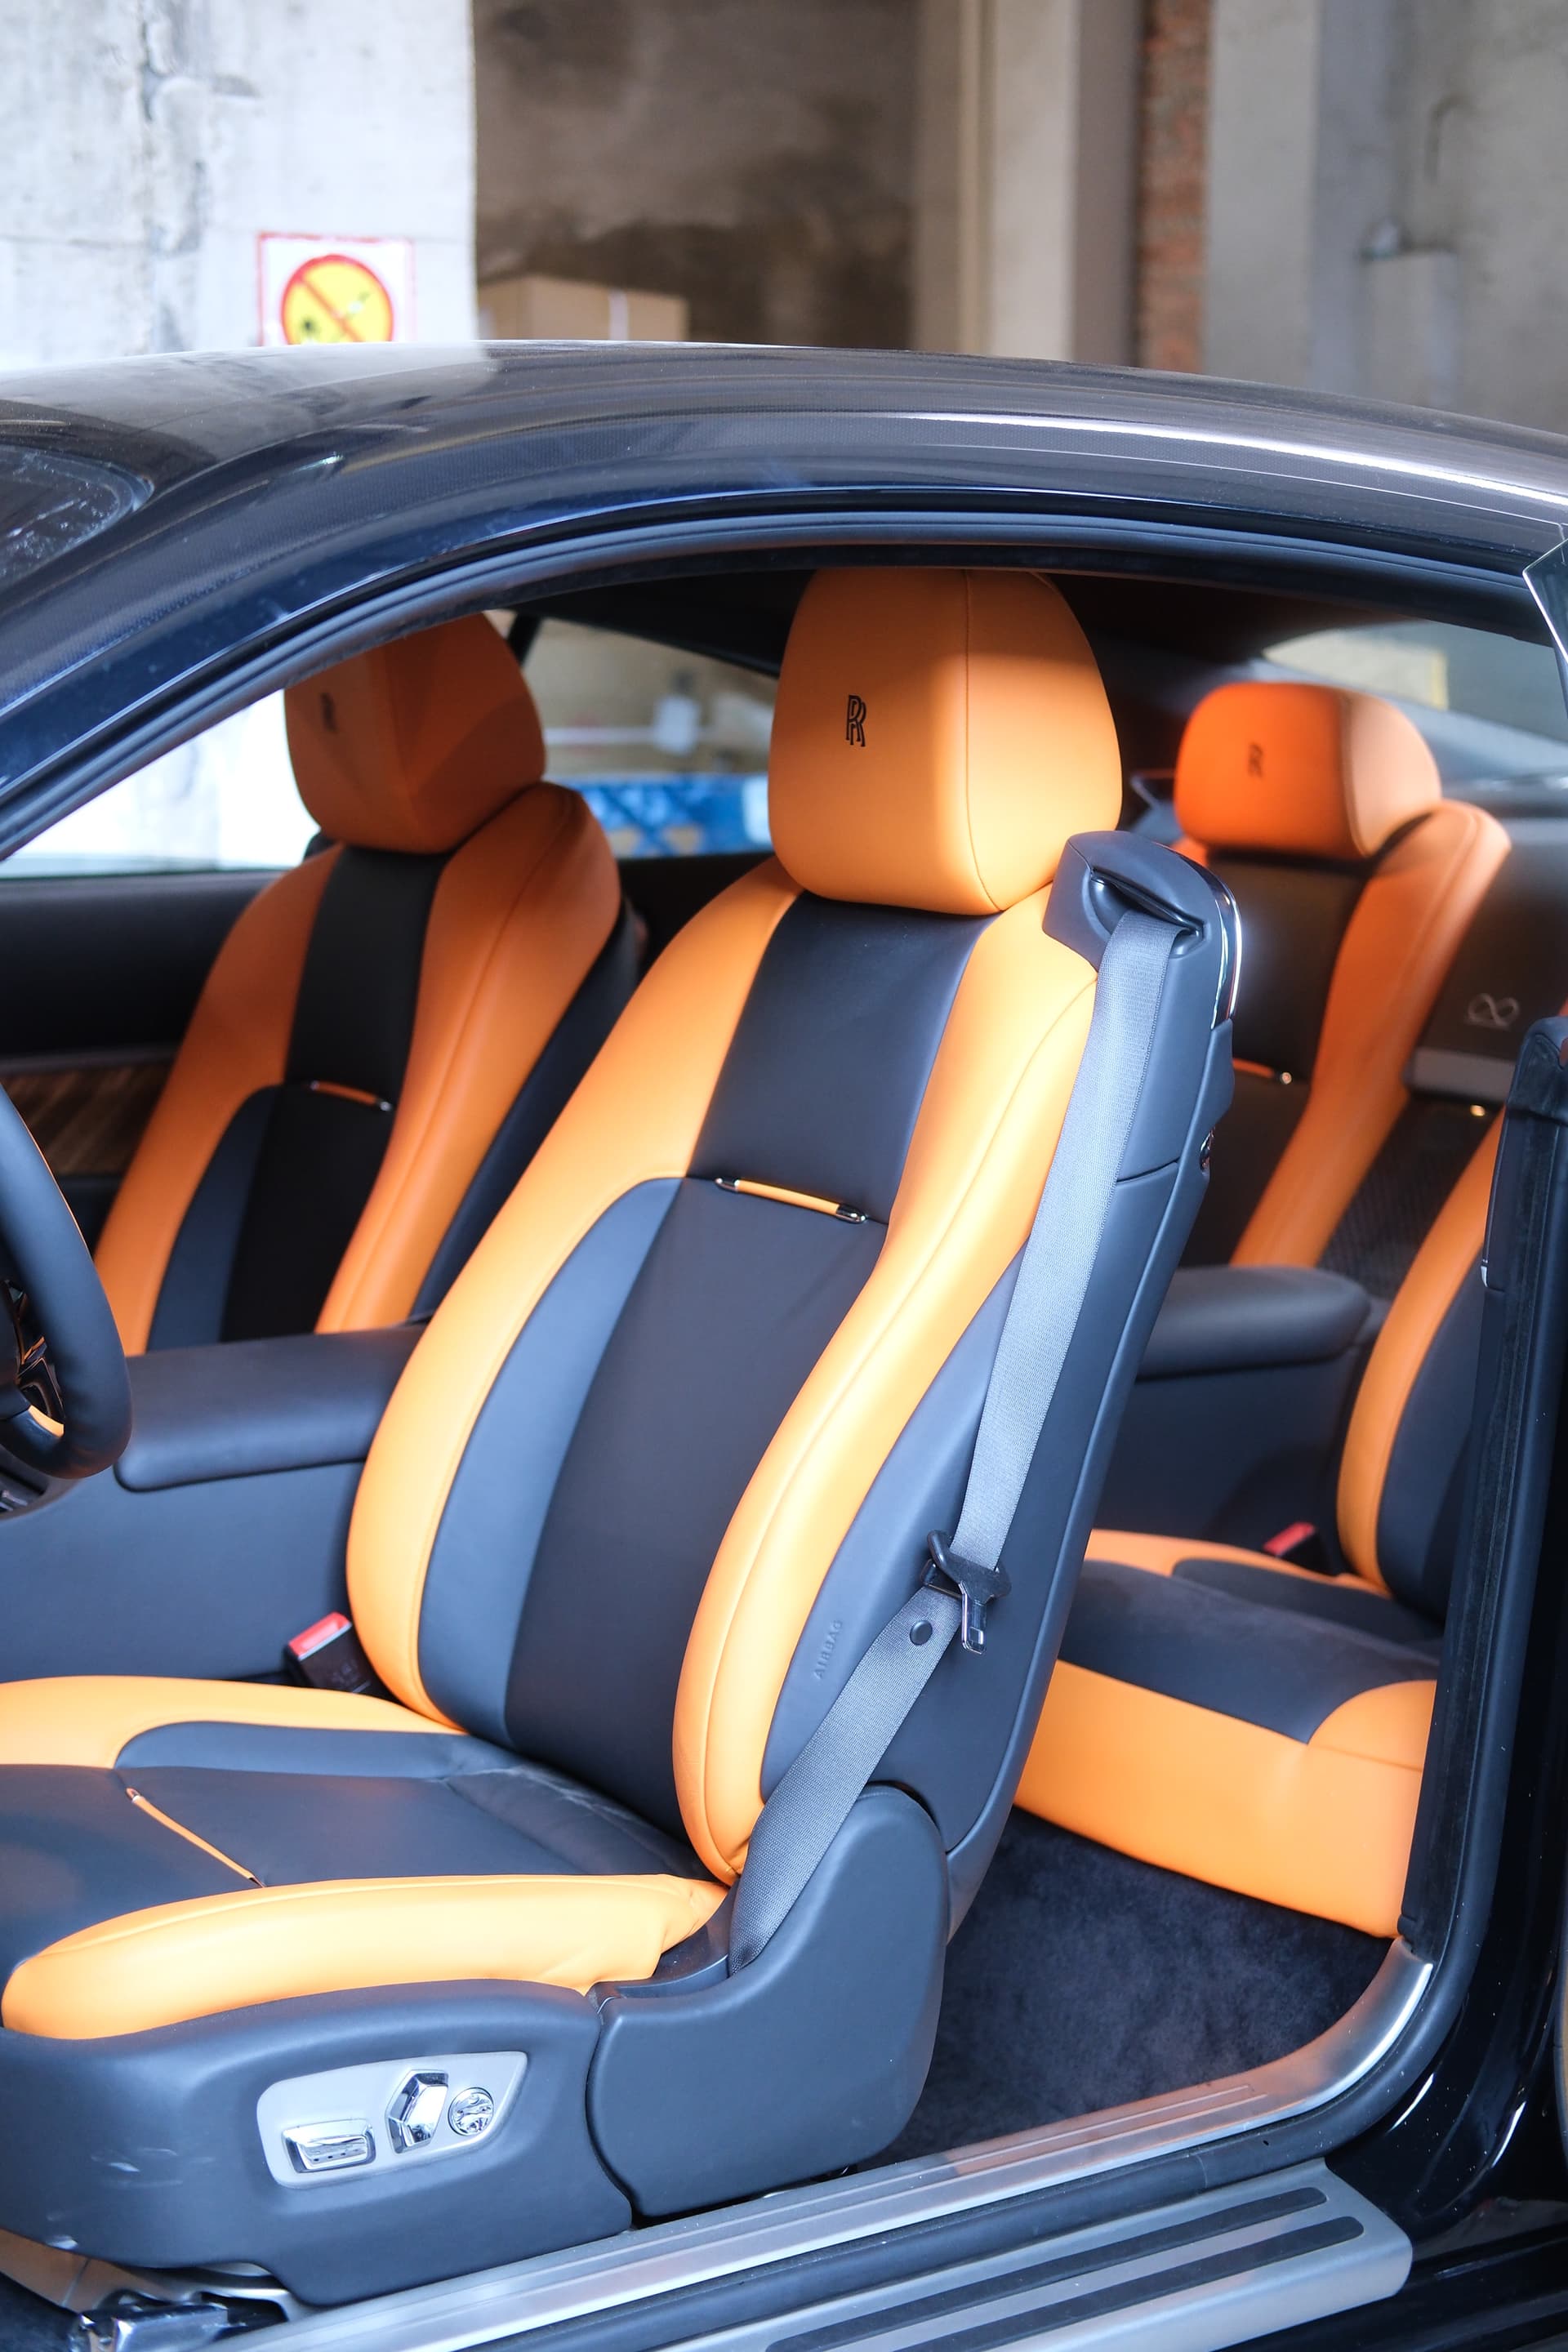
Custom-cut leather covers for the agreed seat rows, including orange bolsters, black centre panels and specified perforation or quilting.
Documented OWNSILENT project
Explore documented Rolls-Royce interior work through permanent project photography and model-specific media where available. The page now keeps a verified Ghost interior case study visible even if the live media-project feed is temporarily unavailable.
Permanent verified case study
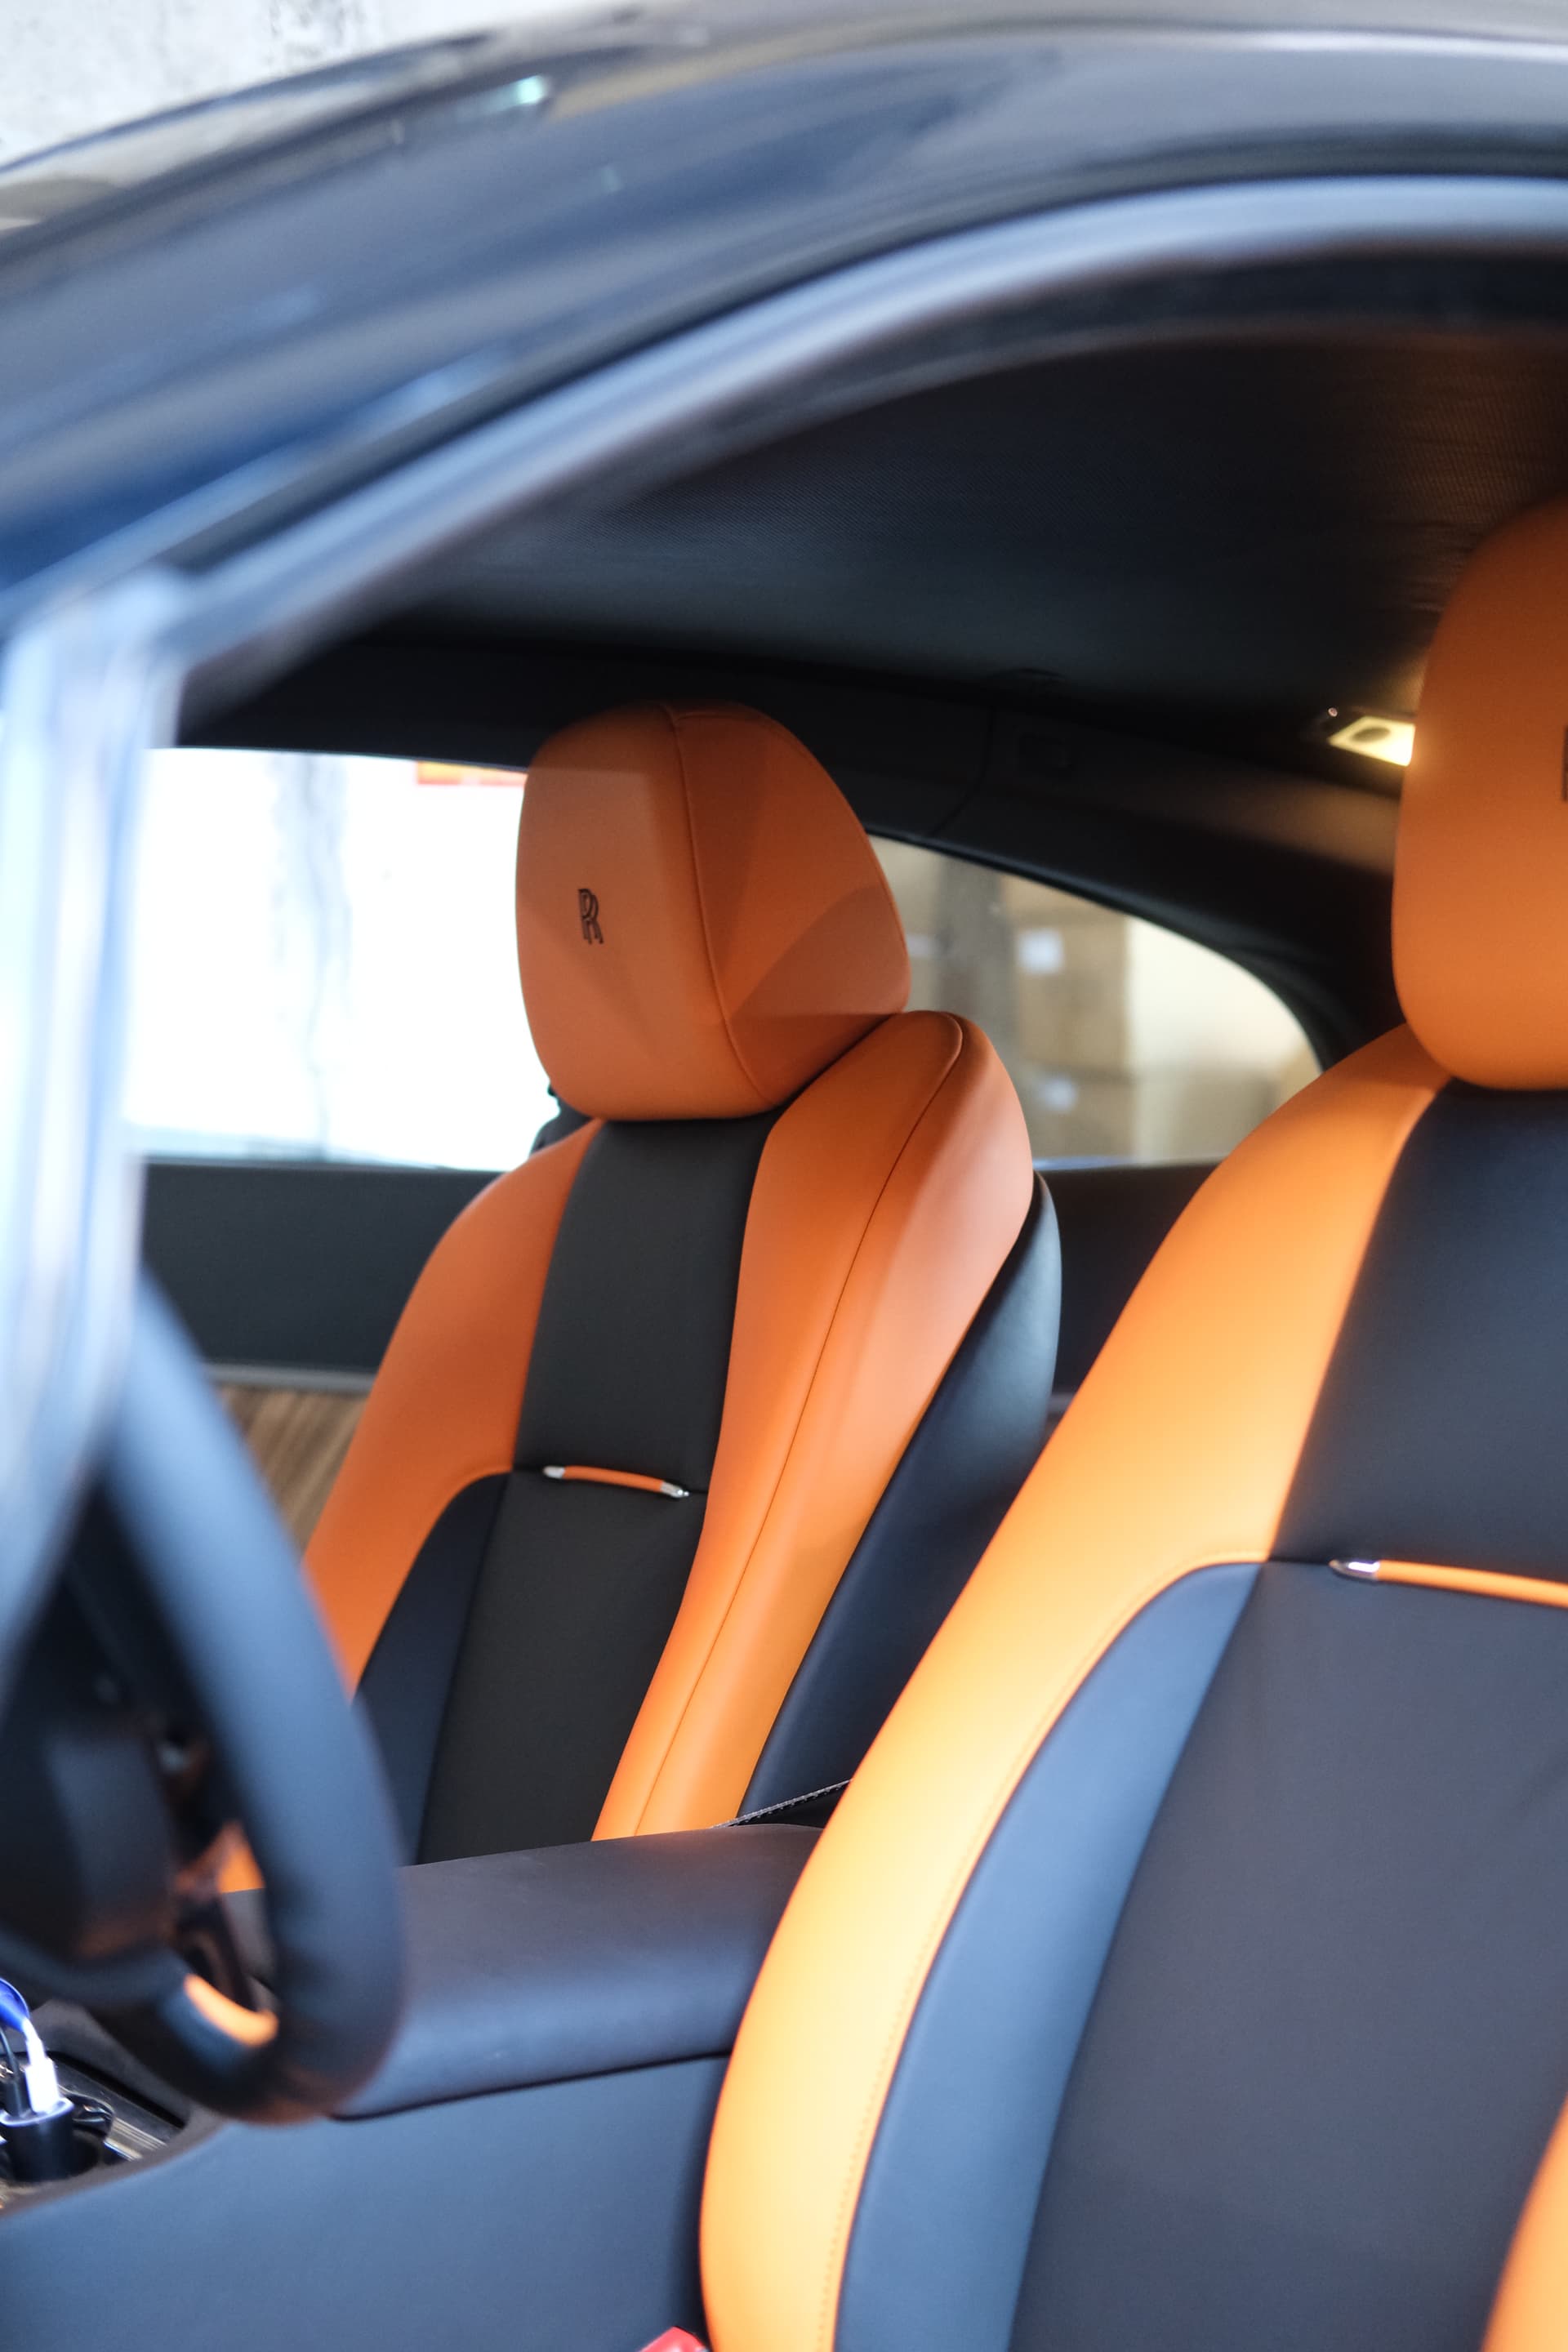
A complete Rolls-Royce Ghost cabin conversion combining orange leather, black centre inserts, embroidered headrests, a coordinated steering wheel and carbon-fiber dashboard trim. Every upholstery area and retained function is defined before production.
Open the full Ghost interior project →Complete front seating theme
The front seats establish the orange-and-black colour split used throughout the bespoke cabin.
Driver-seat panel division
The side angle reveals bolster coverage, centre insert proportions and headrest alignment.
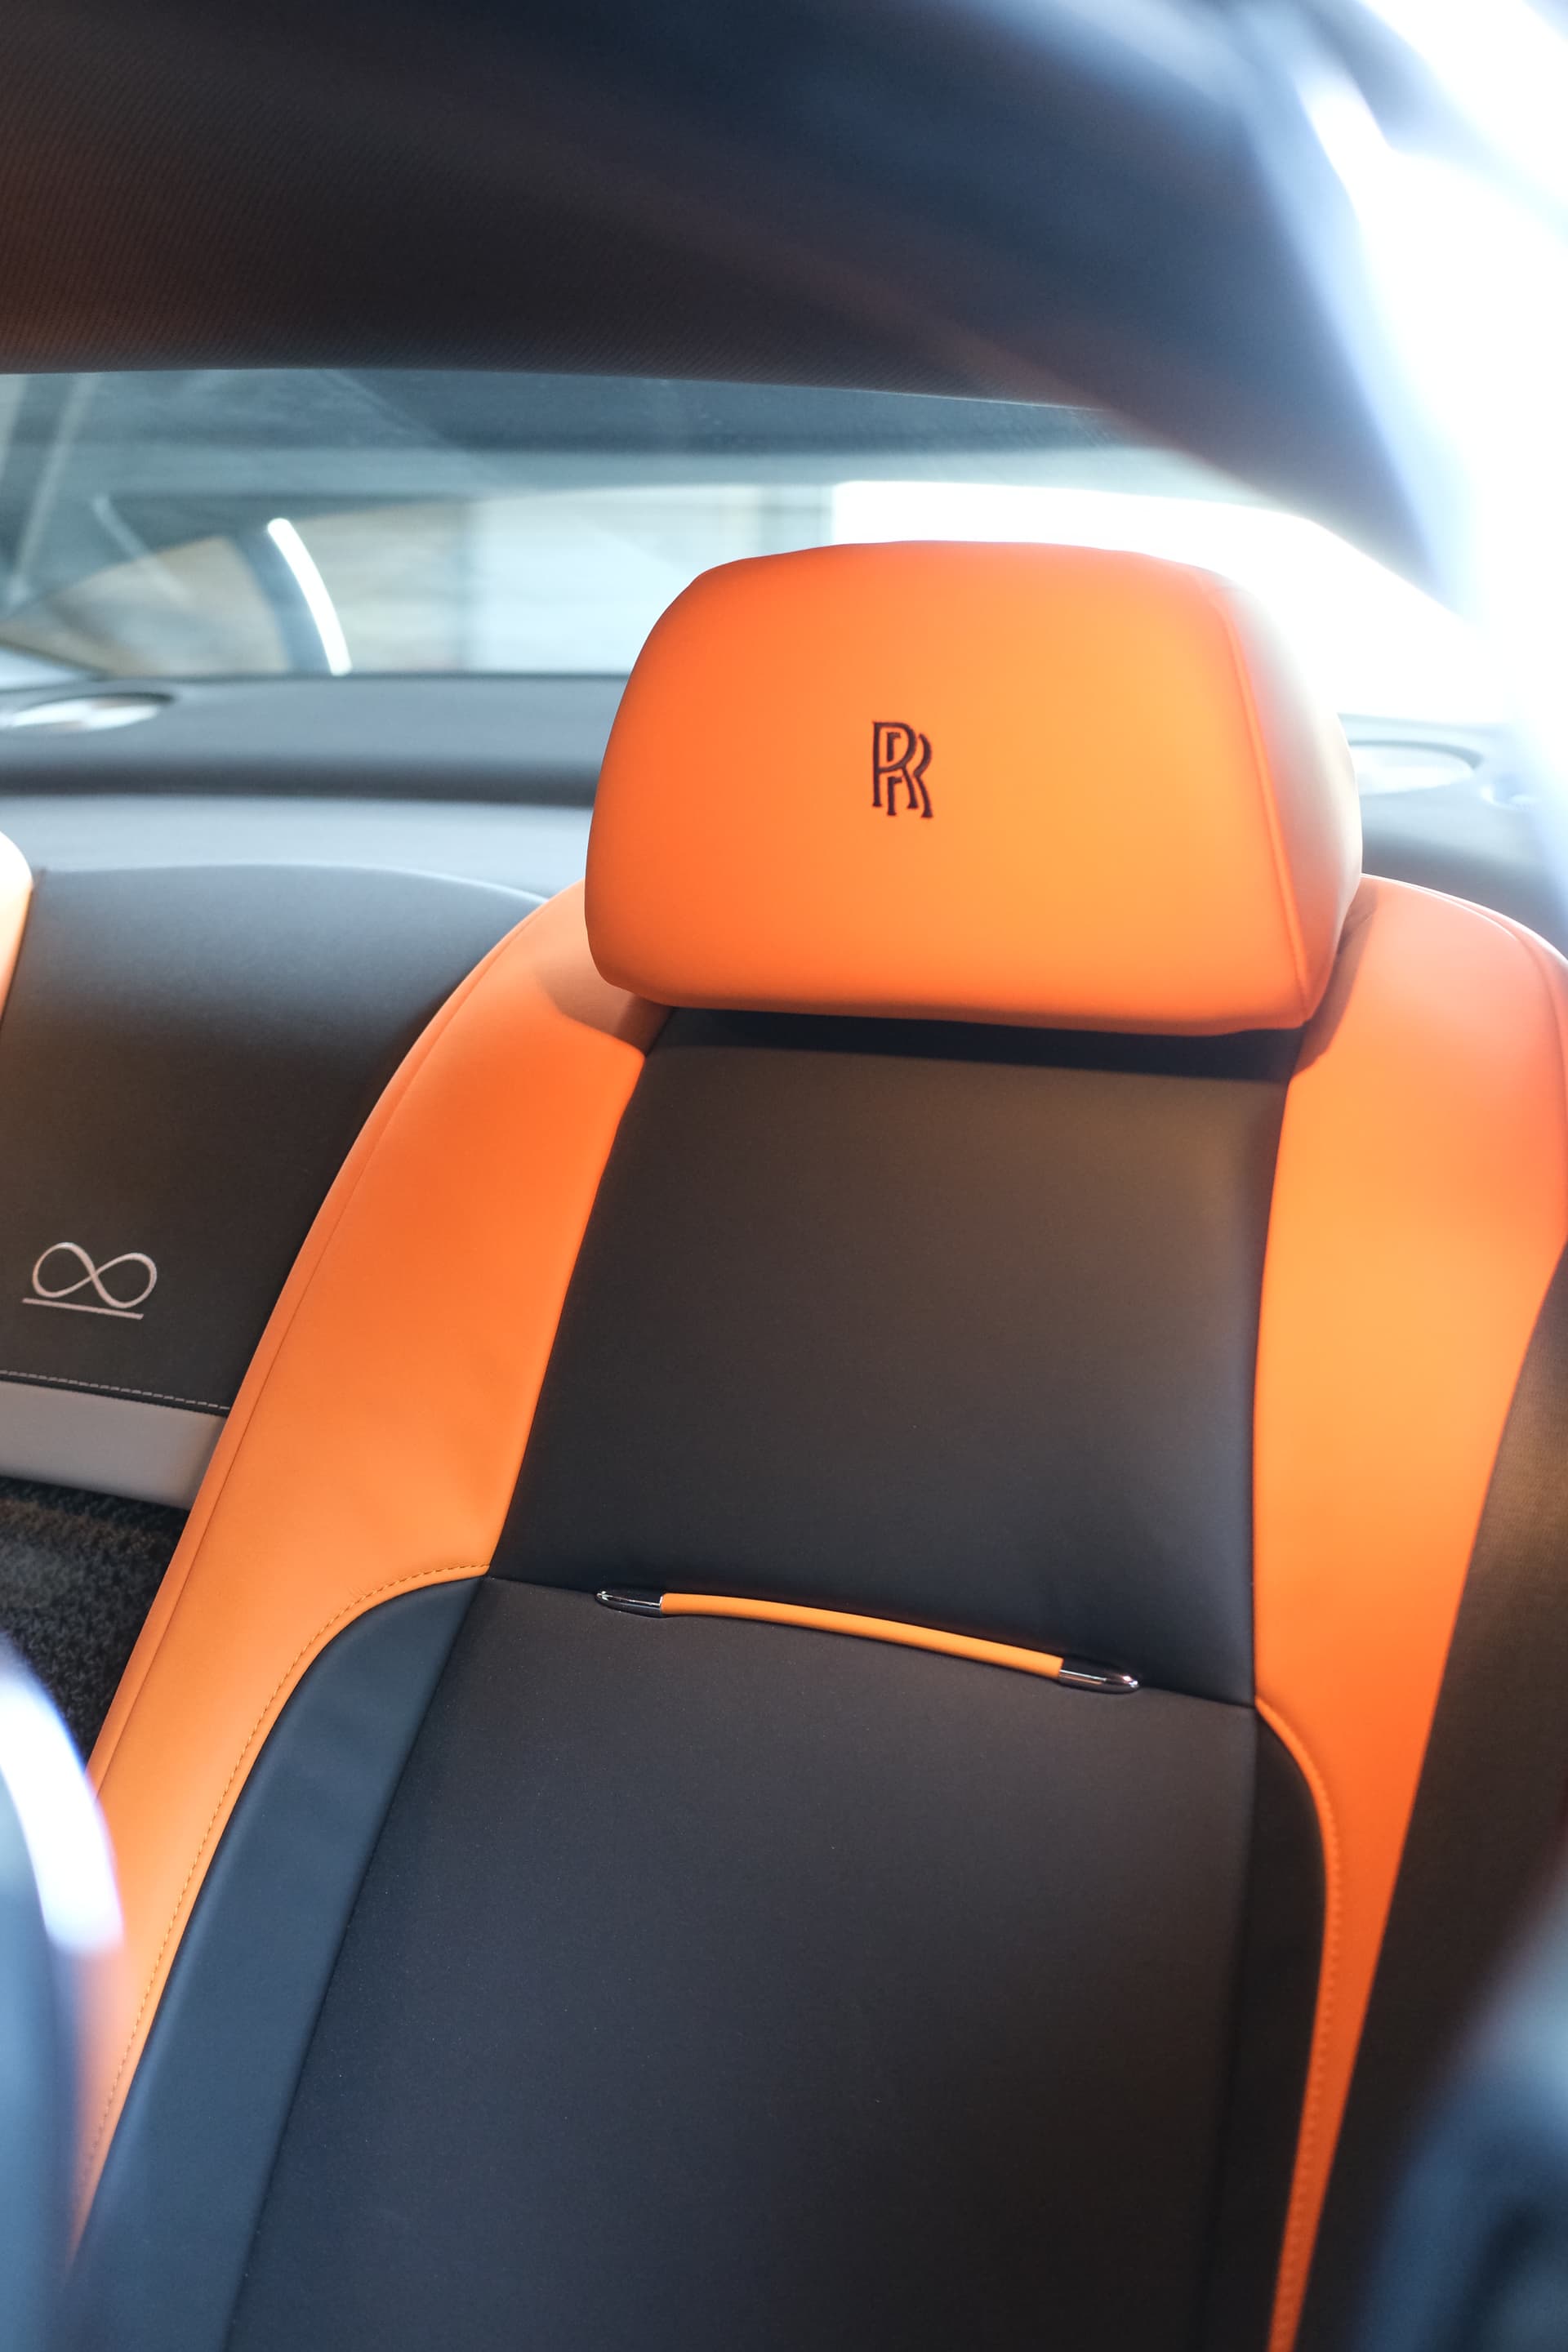
Embroidered RR headrest
Embroidery position, thread colour and leather specification should be approved together.

Two-tone steering wheel
The steering treatment brings the primary upholstery colour into the driver's direct view.
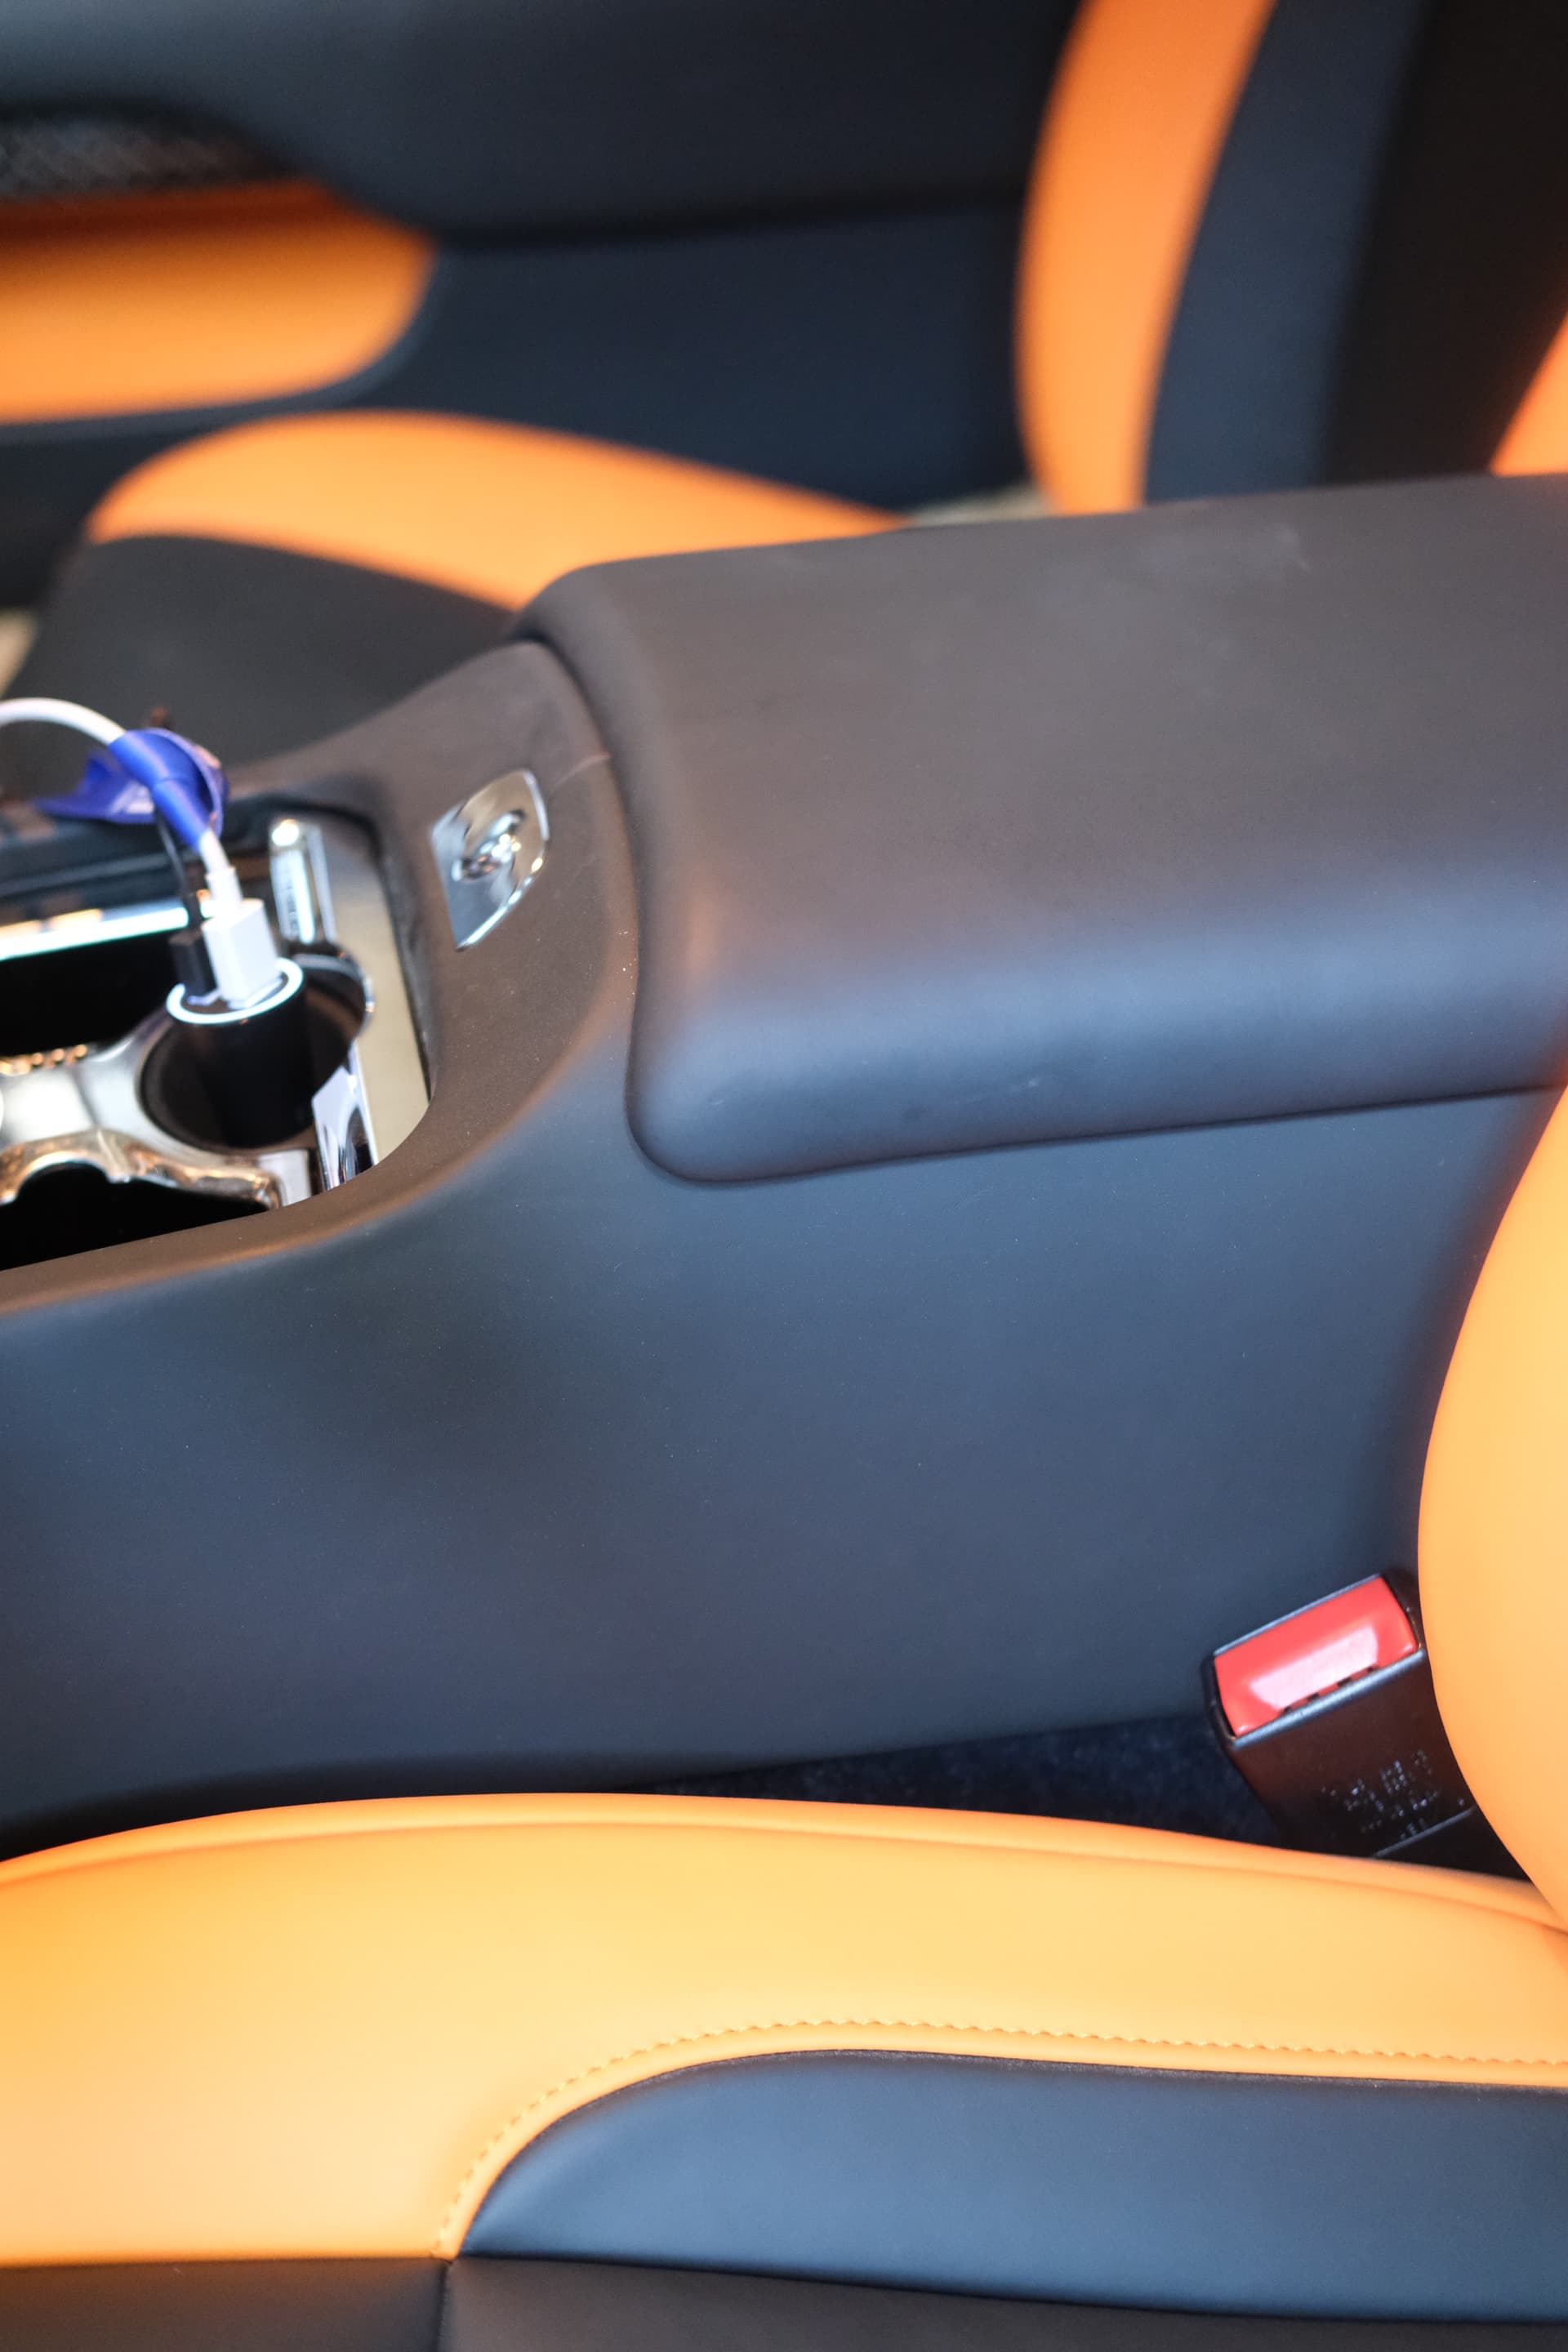
Passenger dashboard leather
The quieter passenger surface balances brighter seat and steering elements.
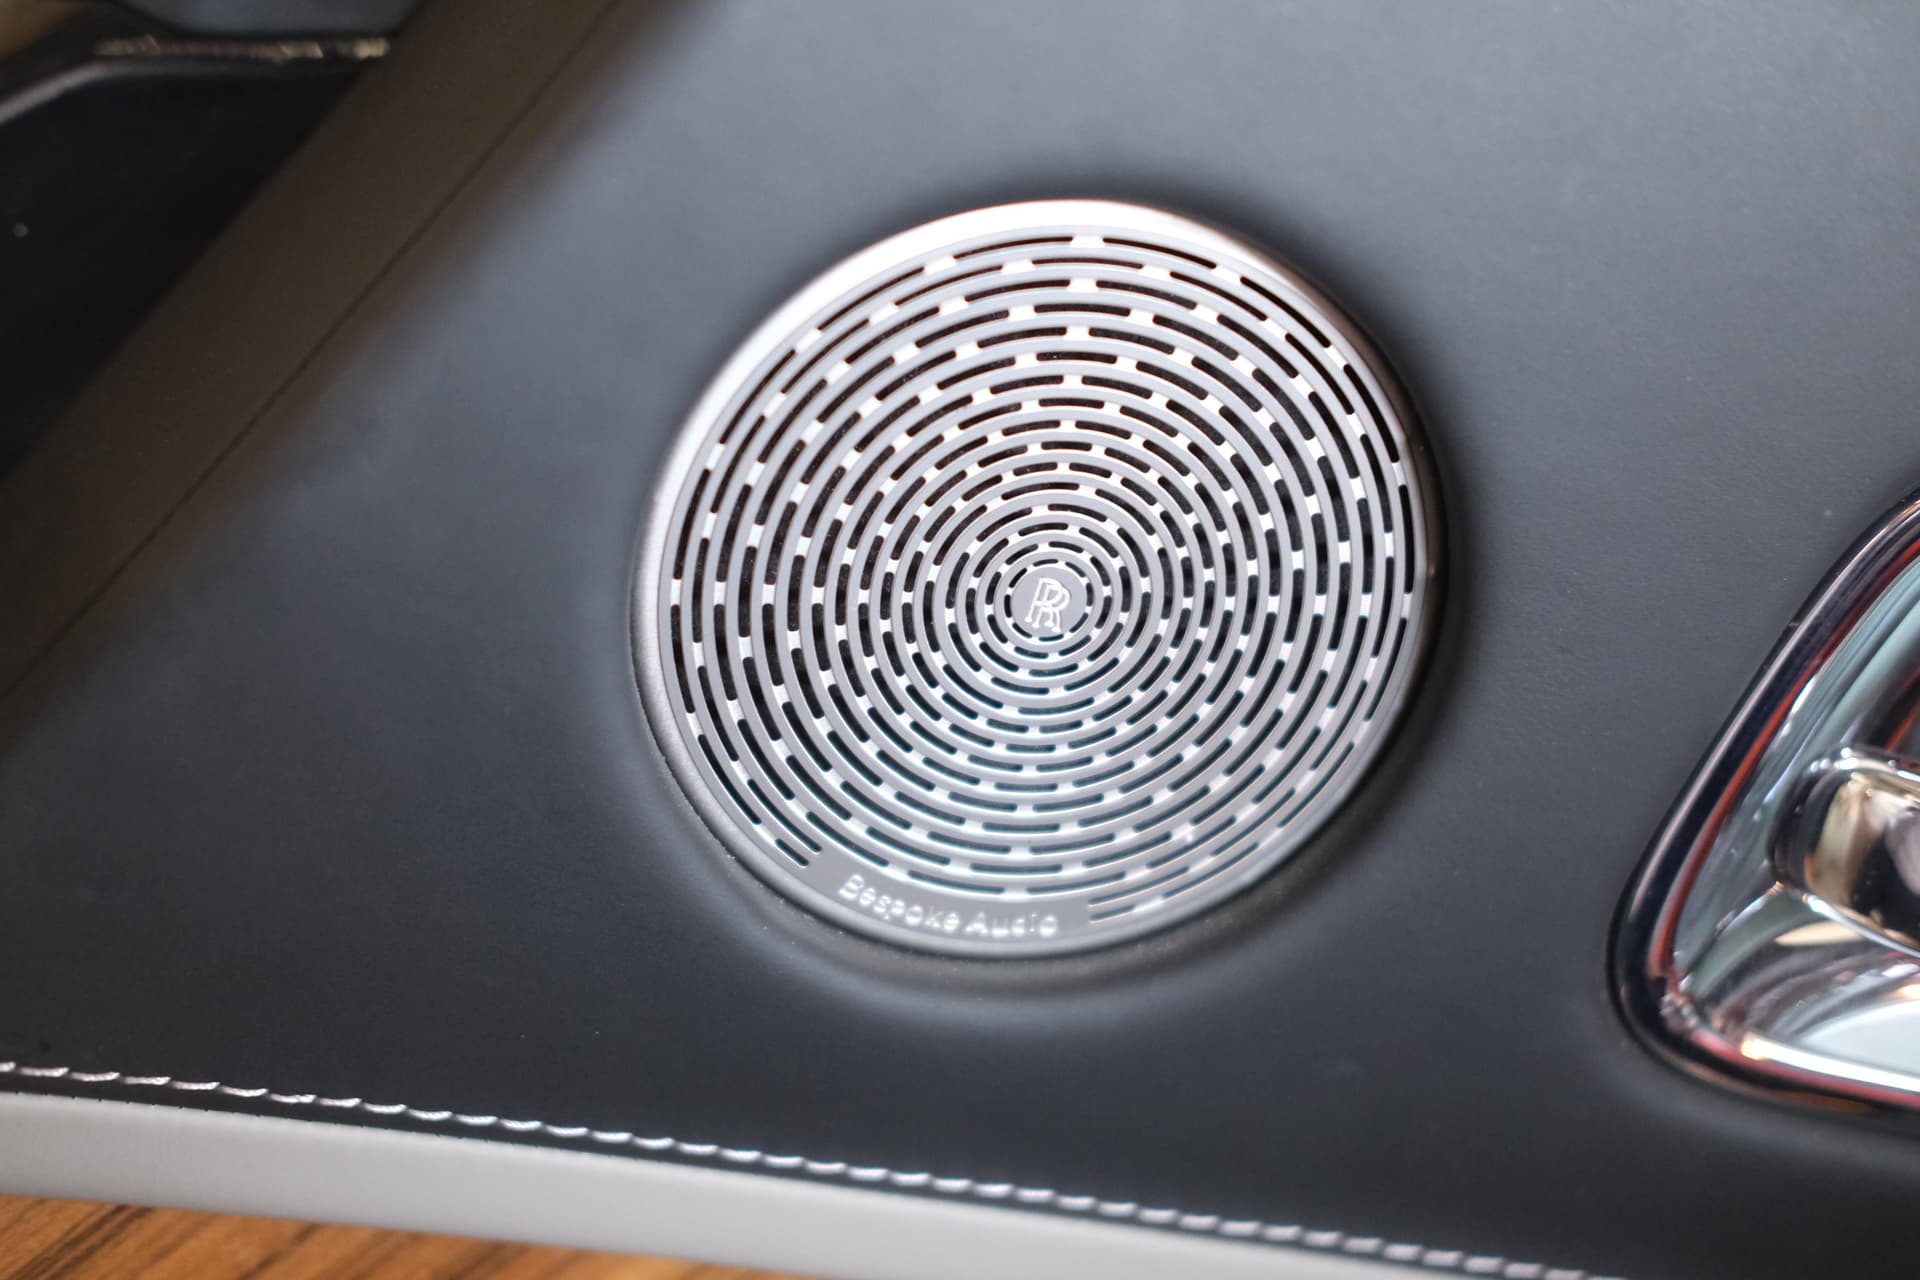
Door speaker and stitching
Close-range details reveal edge finishing, stitch consistency and retained metal trim.

Carbon dashboard fascia
The wide carbon surface introduces a technical counterpoint to the warm leather.
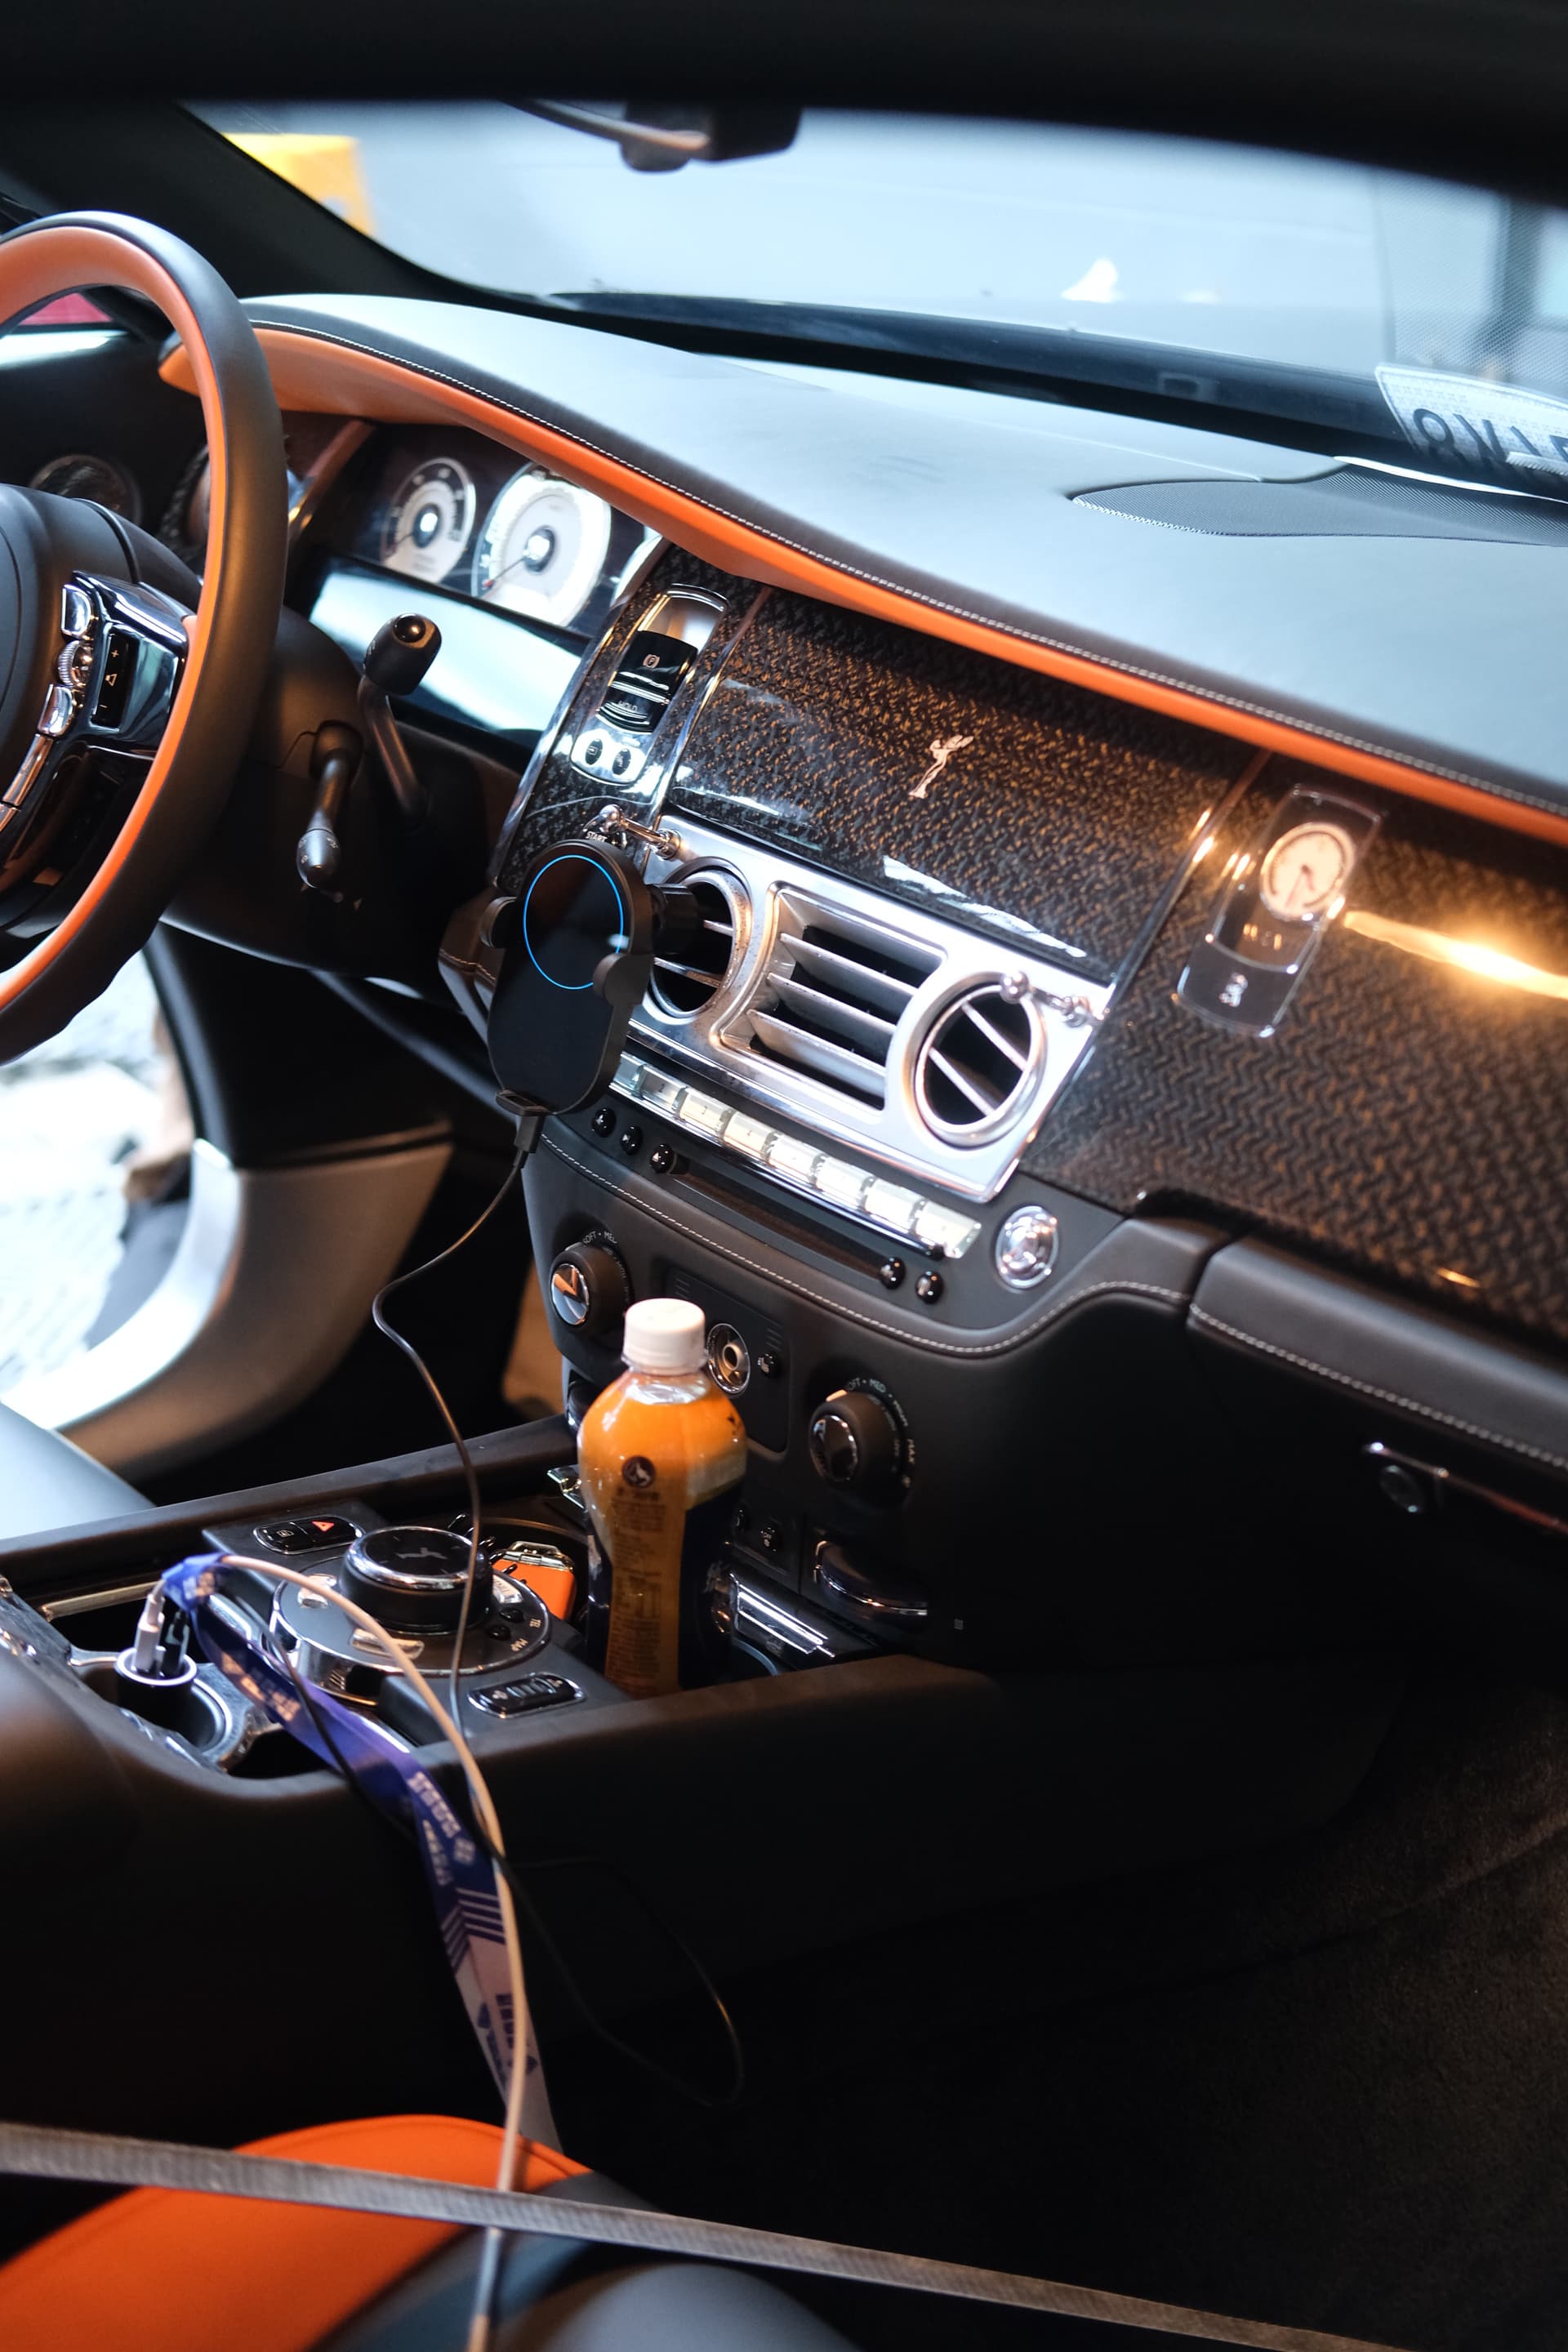
Complete cockpit relationship
The cockpit view confirms that steering, fascia and retained controls form one coherent composition.
01
Custom-cut leather covers for the agreed seat rows, including orange bolsters, black centre panels and specified perforation or quilting.
02
Matching headrest upholstery with approved embroidery position, thread colour and logo direction where legally and contractually available.
03
Two-tone leather treatment around the original steering structure while retaining specified switchgear, heating and control surfaces.
04
Visible carbon trim across the agreed dashboard areas with confirmed weave direction, edge treatment and gloss or satin finish.
05
Selected door inserts, stitched surfaces and supporting trim pieces used to repeat the approved leather and carbon theme.
06
Seat adjustment, heating, ventilation, occupancy sensing and installed safety systems are reviewed separately for the donor vehicle.
Technical review
Exact material type, colour, grain, perforation and application area should be recorded on an approval sheet before production.
Adjustment, heating, ventilation, occupancy detection and installed safety systems must be identified from the donor vehicle.
Panel division, piping, quilting and stitch colour should be approved as one design rather than separately.
Switchgear, heating and control surfaces must be protected while the new colour and material treatment is applied.
Weave direction, finish and edge transitions should remain consistent across dashboard and supporting trim pieces.
Seat movement, controls, retained electrical functions, surface cleanliness and trim alignment should be checked after installation.
Customization scope
Alternative leather colours, dark inserts, piping and stitch combinations can be developed from an approved visual direction.
Perforation, panel split and available embroidery choices can be discussed while retaining compatibility with the original seat construction.
Trim surfaces should repeat materials deliberately so the dashboard, doors and console do not appear unrelated.
The scope must state which original comfort and control functions are expected to remain operational after conversion.
The complete story
The process below is the structure visitors should follow. Each stage answers a different question: what was reviewed, what was designed, what was manufactured, what was installed and what the finished vehicle looks like.
STEP 01
The project starts with the exact vehicle, current interior condition, model/year information, VIN and photographs. The original cabin becomes the reference for fitment, retained controls and interface points.
STEP 02
Leather colour, stitching, quilting, perforation, carbon-fiber areas, starlight treatment and the required cabin scope are agreed before production.
STEP 03
Seats, door panels, dashboard trim, console parts and other approved components are stripped, prepared, upholstered, refinished or reworked according to the selected specification.
STEP 04
Completed parts are checked as a coordinated set so colour, stitch direction, carbon finish, openings and visible interfaces match before vehicle installation.
STEP 05
The interior is assembled back into the vehicle with attention to panel alignment, retained factory controls, electrical interfaces and the final cabin relationship.
STEP 06
The finished interior is photographed and checked as a complete project—from front cockpit and seats to doors, rear cabin, console and lighting effects.
Beyond one Rolls-Royce project
The exact design is not copied from one vehicle to another. The conversion method can be adapted around the donor vehicle’s cabin architecture, original trim, seat systems, electronics and customer specification. Model-specific feasibility and fitment are reviewed before production.
Rolls-Royce model projects
Phantom VIII and other model-supported media in this project library.
Explore →Mercedes-Benz G-Class interiors
Documented interior installation and complete-cabin references.
Explore →Mercedes-Benz V-Class executive cabins
Executive rear-cabin, seating and complete interior upgrade references.
Explore →Range Rover L405 / L460 conversions
Vehicle-specific cockpit, seating, console and full conversion programmes.
Explore →Porsche custom carbon-fiber seats
Seat-focused bespoke projects with upholstery, carbon shell and fitment review.
Explore →Luxury VIP seating systems
Executive seating and cabin systems for technically suitable vans, MPVs and SUVs.
Explore →Model-led project tree
Select a vehicle to see the model-specific project story, available project photography, interior-category relationship and manufacturing links. We only assign images to a model when the metadata supports that model, so the story remains accurate instead of mixing vehicles.
Visual project timeline
These chapter cards use the actual media stages from the project library. Open the manufacturing story below for the larger galleries and image-by-image captions.
Manufacturing story
This section shows the visible production journey across the supplied Rolls-Royce interior media: manufacturing, completed parts, installation and final results. Shared process images stay here when they cannot be safely attributed to one exact model, while model pages show only model-supported photographs.
How to use this library
Use the interior system for component and manufacturing detail, Interior Parts for the wider catalogue, or Projects & Guides for photographed vehicle stories. The project hub itself remains the high-level explanation of what the conversion is and how the full process comes together.
Interior system
Explore the wider manufacturing tree for seats, doors, dashboards, consoles, trim and installation.
Category
Continue to the main interior-parts catalogue and related bespoke cabin programmes.
Discovery
Browse other photographed vehicle projects, manufacturing records and technical guides.
Get In Touch
Send the exact model, manufacturing year, VIN, current interior photographs and the required leather, carbon-fiber, lighting and trim direction for project review.
Usually replies within one business day · Handled by the OWNSILENT team
Prefer email? Reach us at sales@ownsilent.international